Cruisin'
As a rule, cruise control is snubbed by sports car enthusiasts, and I get it. Why take away any of the engagement of driving? But if I am going to drive the coupe 50 miles up the 405 freeway without any turns, obstacles, or other pleasures, I want to give my right foot a break. I want cruise control for those occasional long freeway drives.
The cruise function itself was easy - our 057 Tesla motor controller has the function built-in. Yes, we had to do a bit of fancy work to implement a smart resume function and such, but that isn’t the point of this post. This is the story of how I hid cruise control buttons in the Nardi steering wheel. Here they are in the video below:
And Here’s the Process:

It all started with a little PC board and a micro-switch. The same type of buttons found in a lot of your small devices. The round things are T-Nuts which will mount the board to the steering wheel.

I tested the fit behind the wheel. This was with a taller button to check how things would work.

I then put epoxy to the face of the T-Nuts and positioned the board one last time.

Once the epoxy dried I could unscrew the board from them. I had to shave the edges of the left and right one to make room for our housing.
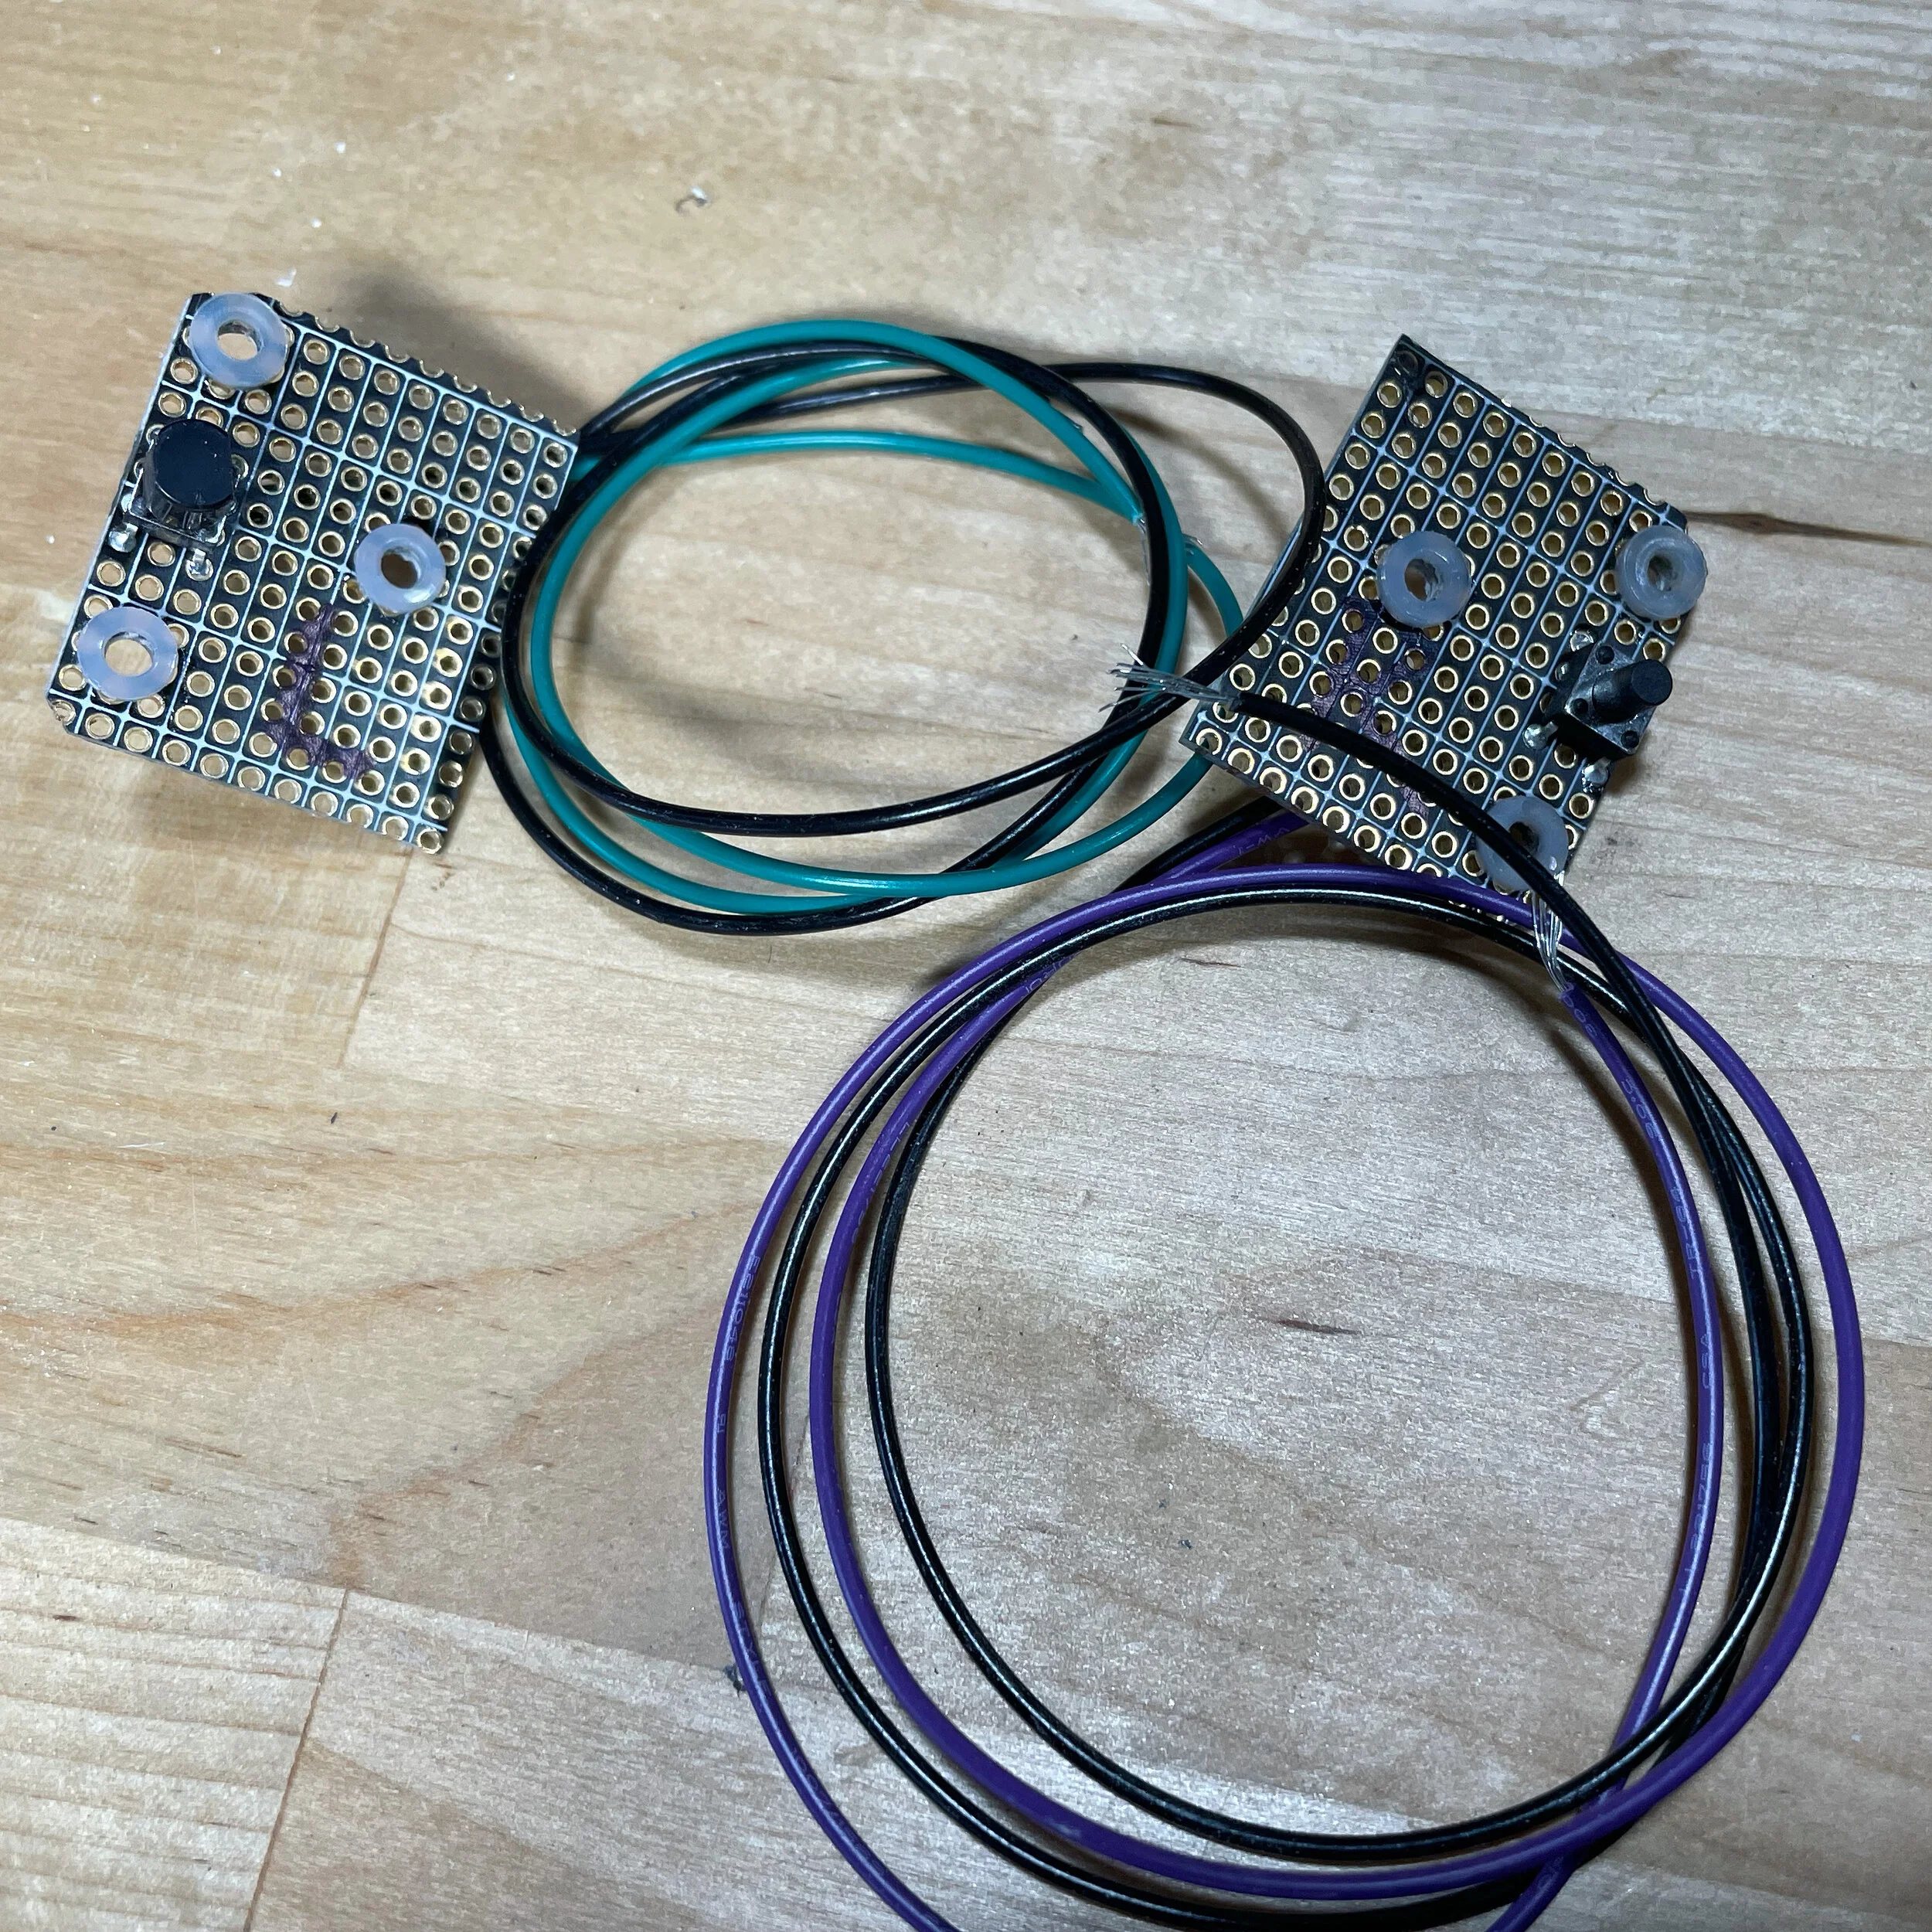
Then I wired up both of the boards with wire leads that will pass through the steering hub then into the console.

I 3D printed a couple of small housings so that things will look clean behind the steering wheel.

I used small black button caps which I shaved with a Dremel so that they fit nicely in the space. They are flush with the surface of the steering wheel, and your thumb can comfortably press them while driving.

The leads enter into the hub, and I used a multi-connector for the two cruise wires as well as the horn wire. The connector simply plugs into the modern BMW hub shown below.

Because I am using a modern BMW steering column, there are plenty of extra pins passing through the rotating hub.

All put together and you just can’t even see that they are there. I get the convenience of steering wheel controls without degrading the look and feel of the classic car.
That’s all I have for this one!
Cheers,
Paul