Untethered
It’s been several months since we spun the rear wheels with the Tesla motor. When we did, the batteries were stacked in our wooden crate with a very large extension cord going to the car. Since then we have installed all of the batteries and accessories into the car, so we are able to run the car self-contained.
This time around I’ll show you the end result before telling you the whole story. Here’s the video:
Finish the Trunk
Last time you saw the trunk it looked something like this photo - a gaping hole in the back of the car. Before we can move forward we need to finish out the trunk so we can keep the water out and the golf clubs in.
Notice I am using a golf reference as a story telling device. While I don’t play the “sport” I have often heard people evaluate their trunks based on its ability to haul golfing equipment.
First we install the upper trunk floor. We had grand ideas of this section being plexiglass so we could show off the Tesla motor from up above. But batteries need to be installed into this area, so we put in a steel floor.
For the lower trunk floor Tyler started with creating a cardboard template of the trunk shape.
He then traced it to a sheet of steel, then cut the shape. Just like in 2nd grade art class, but don’t tell that to Tyler.
Tyler created ribs using a hammer and chisel. Ribs add rigidity and strength to an otherwise flimsy piece of sheet metal.
Now it’s starting to look like a professional car part.
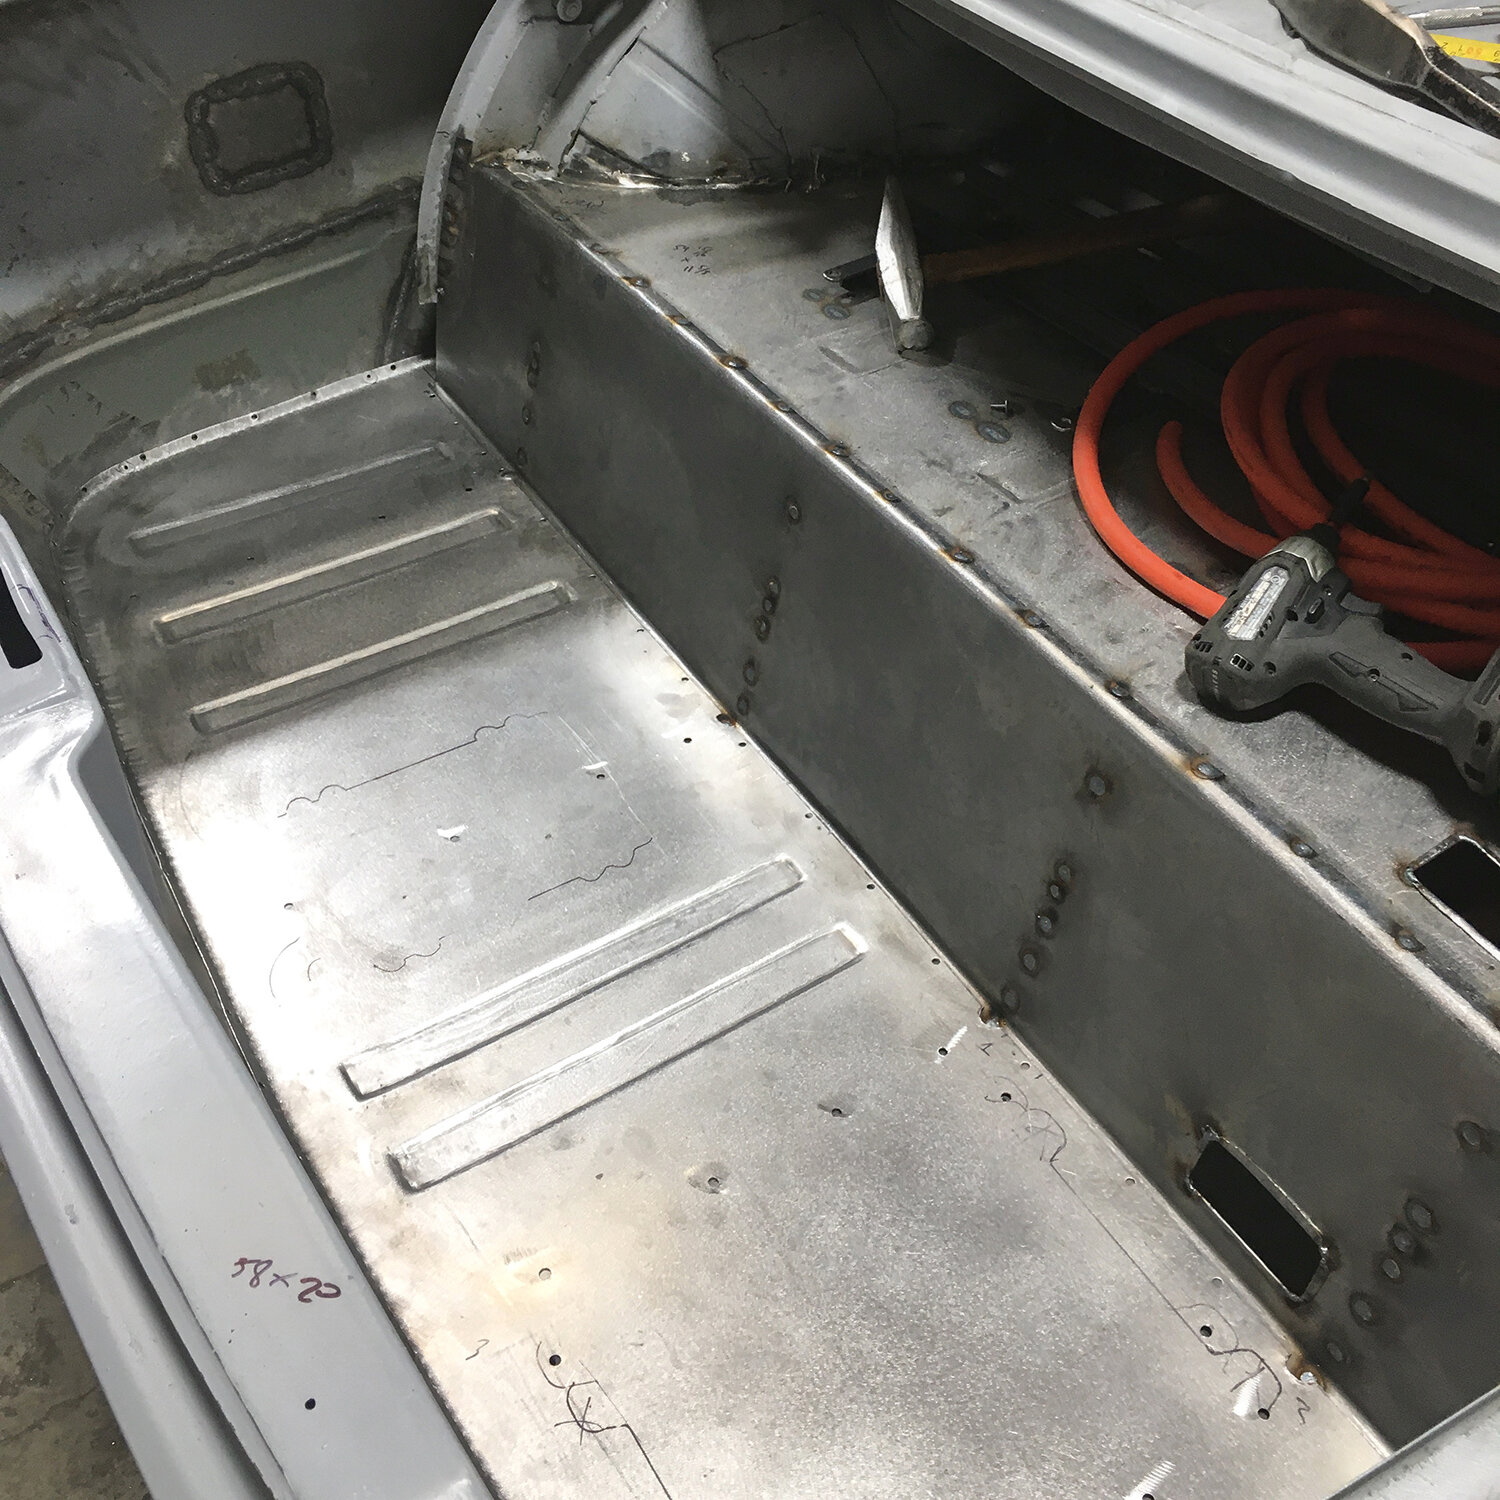
She drops beautifully into the car to create a clean floor. The sections without ribs are where our devices will be mounted.
Next up is the vertical piece that connects the upper and lower trunk floors.
The panel fits nicely and is ready to be welded in place.
But first we add square tube supports which will support the weight of the equipment, while also reinforcing the rear of the car.
We now have a complete enclosed trunk.
Here is the trunk from under the car. The motor now feels like it has a home, rather than hanging there exposed.
Install More Equipment
Now that we have a trunk, there are a handful of items that need to be installed as part of our EV conversion. These devices will sit in the lower trunk section. There will be a carpeted false floor installed on top of this equipment, similar to the panel that hides a spare tire in many cars.
Here’s what we’ve got back there:
1 - 12v “car” battery. When the ignition is turned off, our Tesla batteries are disconnected from use. We need a small 12 volt car battery to power things like dome lights and other accessories. When the Ignition is turned on, the Tesla batteries effectively charge this car battery the way a traditional alternator would.
2 - 057 Tesla Drive Unit Controller. This 3rd party unit talks to the Tesla drive unit controlling speed, power limits, cruise control, and much more. There is more information about the 057 in a previous post.
3 - DC/DC Transformer. This box receives high voltage from our Tesla batteries and converts it to 12 volts DC. It charges our car battery while powering traditional essentials such as headlights, power steering pump and more.
4 - HV Junction Box. Just like it says- it is a junction receiving the high voltage from the Tesla batteries, the AC voltage when the car is plugged in to charge, and sends that power to and from the charger, the DC/DC converter and the Tesla Motor.
5 - Tesla Charger. This unit receives power when we plug the car in to charge. The unit converts and controls the input voltage as needed to properly charge the batteries. (Another computer will be added to control this unit).
6 - 057 Precharge Unit. This unit automates the precharge of the Tesla drive unit’s DC/AC power inverter. This is a temporary unit, whose function will be rolled into our eventual Battery Management Computer (BMS).
7 - HV Contactors. These devices switch on and off the high voltage power to the Tesla drive unit as we turn the ignition on or off. These units will be covered for safety once our charge port is installed into the old fuel fill door above.
The orange high voltage lines are complete, but the low voltage wiring is temporary. Much will be done with fuse block, relays, multi-connectors and such for a clean final result.
We leave you with this. A shot of our graceful cockpit with our custom control panel. It’s a long way off from performing any date night duties, but it’s beautiful to me.
Now for the last bit of work on the brakes then we can drive this thing around the building!
Cheers!
Paul


